MySQL 8.0 is entering end-of-life in April 2026. We recommend upgrading all Laravel MySQL 8.0 databases to 8.4 as soon as possible. Although Laravel Cloud makes this incredibly easy, the upgrade is irreversible, so take a few minutes to prepare before starting.
Before you upgrade
1. Back up your database
Before you do anything, create a manual backup of your database. If something goes wrong, this is your only way to recover.
- Go to “Org > Resources > Databases”
- Click on your Laravel MySQL 8.0 database
- Go to “Backups”
- Click “New backup”
- Give your backup a name and a description
Learn more about Laravel MySQL backups.
2. Review core changes between 8.0 and 8.4
Most applications will upgrade without issues, but check the following:
Foreign key strictness. Foreign key constraints now require a unique key on the parent table’s referenced column, not just any index. If your schema has foreign keys referencing non-unique indexes, the upgrade will fail. Check your schema and ensure all referenced columns have a unique key or primary key.
New reserved keywords. MySQL 8.4 reserves several new words, including MANUAL, PARALLEL, QUALIFY, and TABLESAMPLE. If you use any of these as unquoted table or column names, queries will break. Either quote or rename those identifiers.
FLOAT/DOUBLE with AUTO_INCREMENT. This was deprecated in 8.0 and is fully removed in 8.4. If any of your tables have a column matching this combination, the upgrade will fail. Check with:
SELECT table_schema, table_name, column_name, data_type
FROM information_schema.columns
WHERE extra LIKE '%auto_increment%'
AND data_type IN ('float', 'double');
BIGINT) before proceeding.
For the complete list of changes, see the MySQL 8.4 upgrade documentation.
3. Run the upgrade
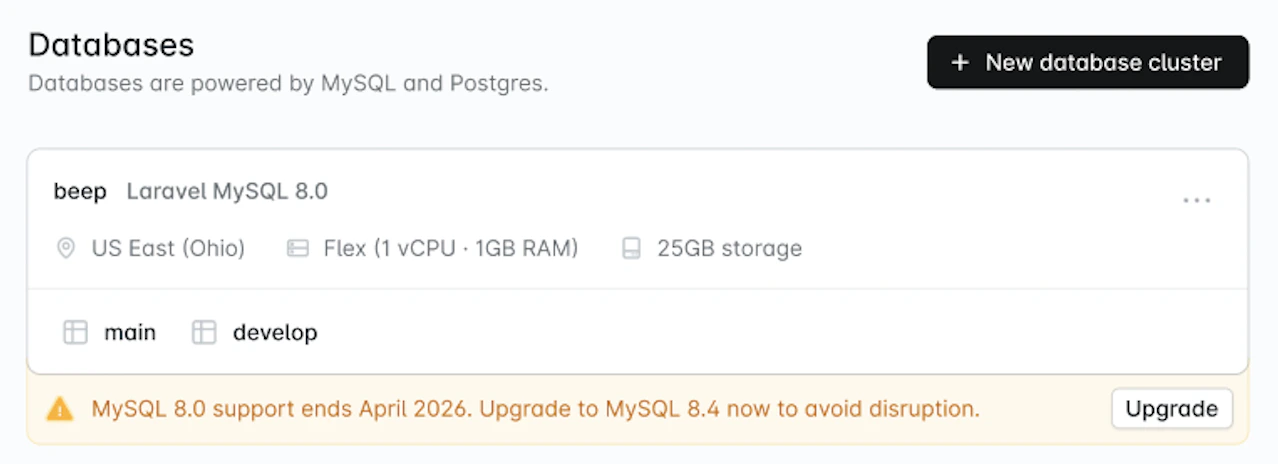
Upgrading to MySQL 8.4 is irreversible.
- Go to “Org > Resources > Databases”
- Find your Laravel MySQL 8.0 database
- Click “Upgrade” on the yellow banner below the database
- Confirm your upgrade
The process takes up to a few minutes. Your database will be briefly unavailable during this time. We recommend doing this during a low-traffic window.
4. Verify your application
Once the upgrade completes, confirm that your application is connecting and behaving normally.
After the upgrade
5. Delete your backup (optional)
Once you’re confident everything is working, you can delete the backup from step 1 to free up storage.
- Go to “Org > Resources > Databases”
- Click on your database (now on 8.4)
- Go to “Backups”
- Click ”…” and delete the backup