Migrate from Laravel Vapor to Laravel Cloud
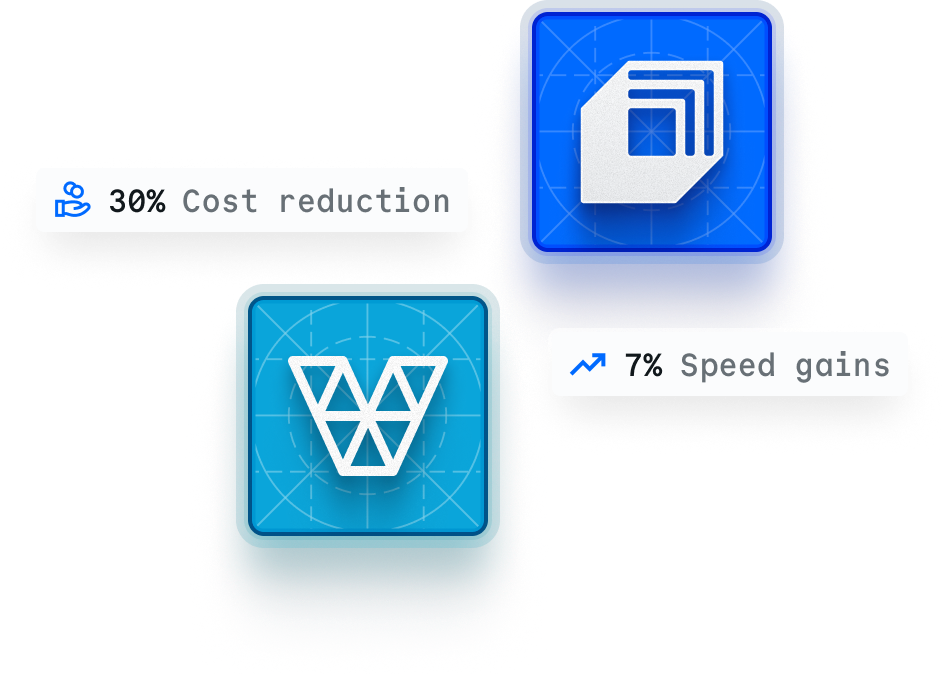
Users who've migrated from Vapor to Cloud report cost reductions of up to 30% and speed gains of around 7%. If you're ready to make the switch, this guide walks you through migrating your application from Vapor to Cloud.
Start in Cloud with $5 in free usage credit.

Why Migrate from Laravel Vapor to Cloud?
Zero configuration. No vapor.yml, no AWS console, and no Lambda configuration are required.
Predictable performance: Kubernetes-based infrastructure eliminates cold starts.
Simpler pricing and usage-based billing without AWS markup or surprise charges.
Faster deployments: Git push-to-deploy in under 60 seconds.
Built-in features, including edge caching, WAF, DDoS protection, Laravel Reverb-powered WebSockets, and auto-hibernation included.
Standard Laravel apps can migrate in as little as 30 minutes.
“We are surprised by the difference in feel of the site. According to Nightwatch, we won <100 ms per request, but each page feels much snappier. The gain of 100 ms per call in multiple calls in a page only adds to that feeling.”

François-Alexandre Perreault
Solutions Architect at Pyle
Prerequisites
- Access to your current Vapor application and database
- Git repository connected to a supported provider (GitHub, GitLab, Bitbucket)
- Database credentials for your existing Vapor MySQL/Postgres database
- DNS management access for your domain
- A Laravel Cloud account
Laravel Vapor to Cloud: Migration steps
Set up Laravel Cloud account
Create your account at cloud.laravel.com and set up your organization. Have questions? Check our Laravel Cloud Quickstart documentation.
Create your new application
- From your Cloud dashboard, click + New application.
- Connect your Git provider (GitHub, GitLab, or Bitbucket).
- Select your repository and branch.
- Configure your environment settings:
- Choose PHP version from the list of supported versions.
- Set environment variables (copy from Vapor UI or .env).
- Add any secrets your application needs.
Provision your new infrastructure
Create the resources your application needs:
MySQL/Postgres database
- In your environment's infrastructure canvas, add a Database.
- Choose MySQL or Postgres (match your Vapor configuration).
- Select compute size based on your needs.
- Enable public endpoint for migration (you can disable after).
- Cloud automatically configures Laravel environment variables.
KV store for cache/session storage
- Add a KV Store resource to your infrastructure canvas.
- Choose Redis or Valkey
- Cloud automatically configures Laravel environment variables.
Object storage (S3-compatible)
- Add Object storage if you use file uploads.
- Update your filesystems.php configuration to use the Laravel Object Storage.
You've now set up a new Laravel Cloud account and provisioned all necessary infrastructure. You can now migrate your Vapor application to Cloud.
Prepare to migrate
- Log into your Vapor account.
- Get your Vapor database credentials:
- Check Vapor dashboard → Project → Environment → Database
- Or check your Vapor environment variables
Migrate your database
With your new Cloud database provisioned and public endpoint enabled:
Finding your Cloud database credentials:
- Cloud dashboard → Environment → Database → Connection Details
- Credentials are also injected as environment variables
For MySQL
Export from Vapor
Import to Cloud
# From your local machine
mysql \
  --host="cloud-db-host" \
  --port="cloud-db-port" \
  --user="cloud-db-username" \
  --password="cloud-db-password" \
"cloud-db-database" < "dump-file.sql"For Postgres
Export from Vapor
# From your local machine
pg_dump \
  -Fc \
  -f "dump-file.bak" \
"postgresql://vapor-db-username:vapor-db-password@vapor-db-host:vapor-db-port/vapor-db-database"Import to Cloud
# From your local machine
pg_restore \
  --clean \
  --no-owner \
  --no-acl \
  --if-exists \
  --dbname="postgresql://cloud-db-username:cloud-db-password@cloud-db-host:cloud-db-port/cloud-db-database" \
"dump-file.bak"At this point, you are ready to deploy your application to Cloud by hitting the "Deploy" button. Follow the next steps to test if everything is working correctly.
Test your Cloud deployment
Before switching DNS:
- Deploy your application: Click the Deploy button in Cloud.
- Verify deployment: Check the deployment logs for any errors.
- Test using Cloud URL: Every environment gets a .laravel.cloud URL.
- Run smoke tests: Verify critical functionality works.
- Check background jobs: Ensure queues are processing correctly.
Switch DNS to Cloud
Once verified, point your domain to Cloud:
- In the Cloud dashboard, go to Domains and add your custom domain.
- Cloud will provide DNS records (A/CNAME).
- Update your DNS provider with the new records.
- SSL certificates are automatically provisioned and renewed.
Disable public database endpoint (optional)
After migration is complete and stable:
- Disable the public endpoint on your Cloud database for security.
- Your application will continue to access it via private network.
End your Vapor subscription
Once you've successfully deployed and tested your application, don't forget to cancel your Vapor subscription. If you were only using AWS for the application you migrated to Cloud, you can also cancel your AWS subscription since no third-party infrastructure providers are needed with Cloud.
Common migration scenarios
Scenario 1: Standard Laravel app

Vapor setup: MySQL + Redis + S3 assets + queues

Cloud setup: MySQL database + Redis + object storage + Queue cluster for intelligent scaling

Estimated migration time: 30-60 minutes
Scenario 2: API-only application
Vapor setup: Aurora Serverless + ElastiCache
Cloud setup: Postgres database + Redis
Estimated migration time: 20-40 minutes
Scenario 3: Multi-environment setup
Vapor setup: Production + staging environments
Cloud setup: Create separate environments in the same application
Estimated migration time: 45-90 minutes per environment
Code changes required
Minimal changes needed
Most Laravel applications require zero code changes to migrate from Vapor to Cloud.
Storage configuration
If you use Vapor's S3 direct uploads, update to Cloud's object storage:
// config/filesystems.php - usually no changes needed
's3'=>[
    'driver'=>'s3' ,
    'key'=>env('AWS_ACCESS_KEY_ID'),
    'secret'=>env('AWS_SECRET_ACCESS_KEY'),
    'region'=>env('AWS_DEFAULT_REGION'),
    'bucket'=>env('AWS_BUCKET'),
    // Cloud injects these automatically
],Remove Vapor-specific code
You can remove the laravel/vapor-core package:
composer remove laravel/vapor-coreRemove any Vapor-specific middleware or configuration from your application, as well as the vapor.yml file.
Rollback plan
Before migrating production:
Create your new application
- Keep Vapor running until Cloud is fully validated.
- Parallel run: Test Cloud with real traffic using the Cloud URL.
- Database sync: If needed, you can sync databases before final cutover.
- DNS rollback: Keep old DNS records documented for quick rollback.
Post-migration validation
After successful migration:
1. Configure autoscaling
Set appropriate min/max replicas based on your traffic patterns.
2. Enable auto-hibernation
For staging/development environments to reduce costs.
-
3. Set up queue clusters
Leverage Cloud's autoscaling queue workers for background jobs.
4. Monitor performance use
Use Cloud's built-in metrics to optimize compute resources.
-
5. Review costs
Compare your Cloud usage costs to previous Vapor + AWS bills.
Your Laravel Vapor to Cloud migration is now complete!
Migrating from Laravel Vapor to Cloud gives you a cleaner workflow, faster deployments, and predictable performance without the overhead of managing AWS services.
With zero-config environments, autoscaling, and a straightforward infrastructure model, most applications can be migrated in under an hour.
By following the steps in this guide, you can transition smoothly and start taking advantage of Laravel Cloud's simpler, more cost-effective platform.
Why migrate from Laravel Vapor to Cloud?
Need extra guidance?
Visit documentation
Migration assistance
Contact sales for complex migrations
AI-assisted migration
Using an agent for your migration? Copy the URL into your terminal.
Frequently asked questions
“We are surprised by the difference in feel of the site. According to Nightwatch, we won <100 ms per request, but each page feels much snappier. The gain of 100 ms per call in multiple calls in a page only adds to that feeling.”
François-Alexandre Perreault
Solutions Architect at Pyle
Ready to focus on shipping?
Let's build the incredible together, with Laravel. Start now with $5 in usage credit.