- Laravel
- Symfony
Prerequisites
- PHP 8.2 or greater
- Laravel 9.x or greater
- A GitHub, GitLab, or Bitbucket account
Connect your Git provider
Select Continue with GitHub, GitLab, or Bitbucket. A new tab / window will open. Sign in to your Git provider and select the user / organization and repositories you want to give Laravel Cloud access to.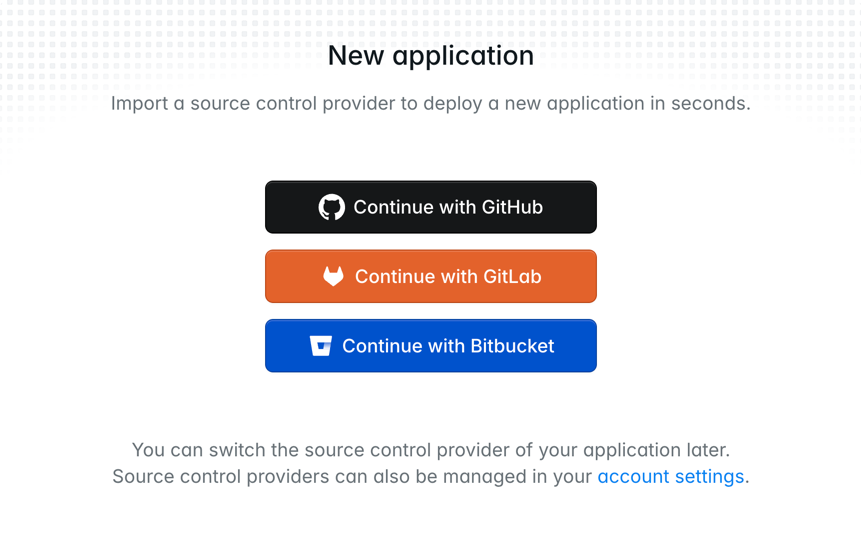
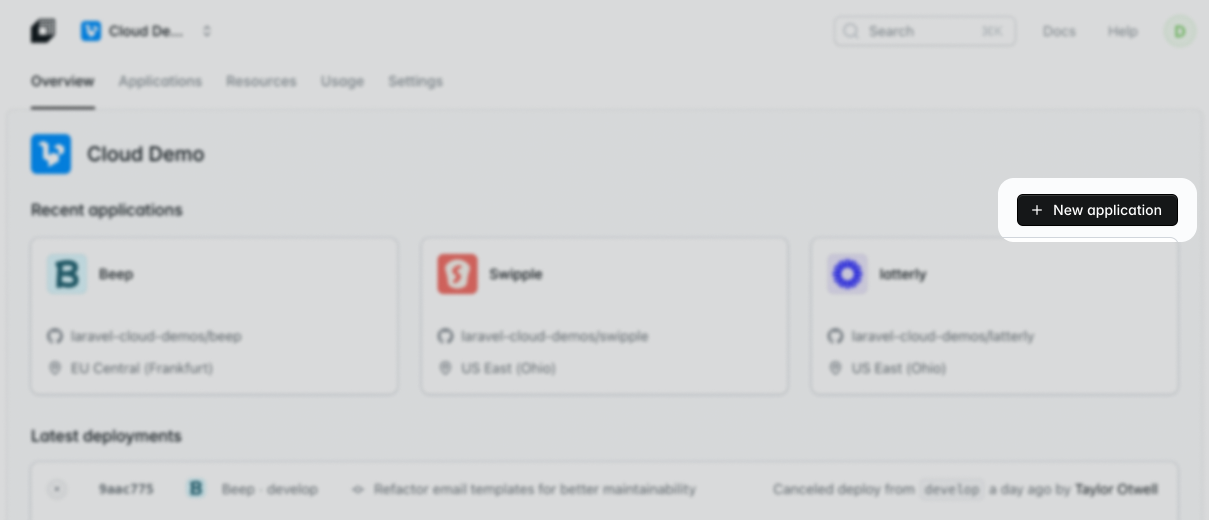
Create a new application
Select the repository you want to use, name your Laravel Cloud application, and select a Region where your application will deploy. Then, click Create Application.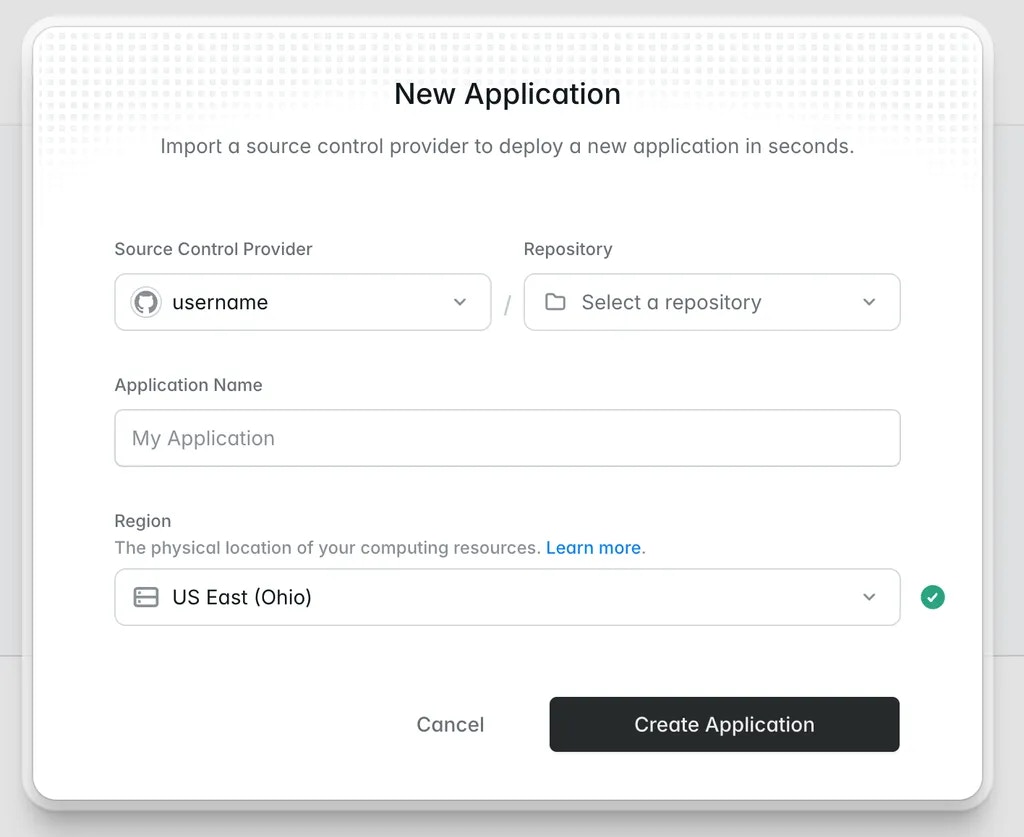
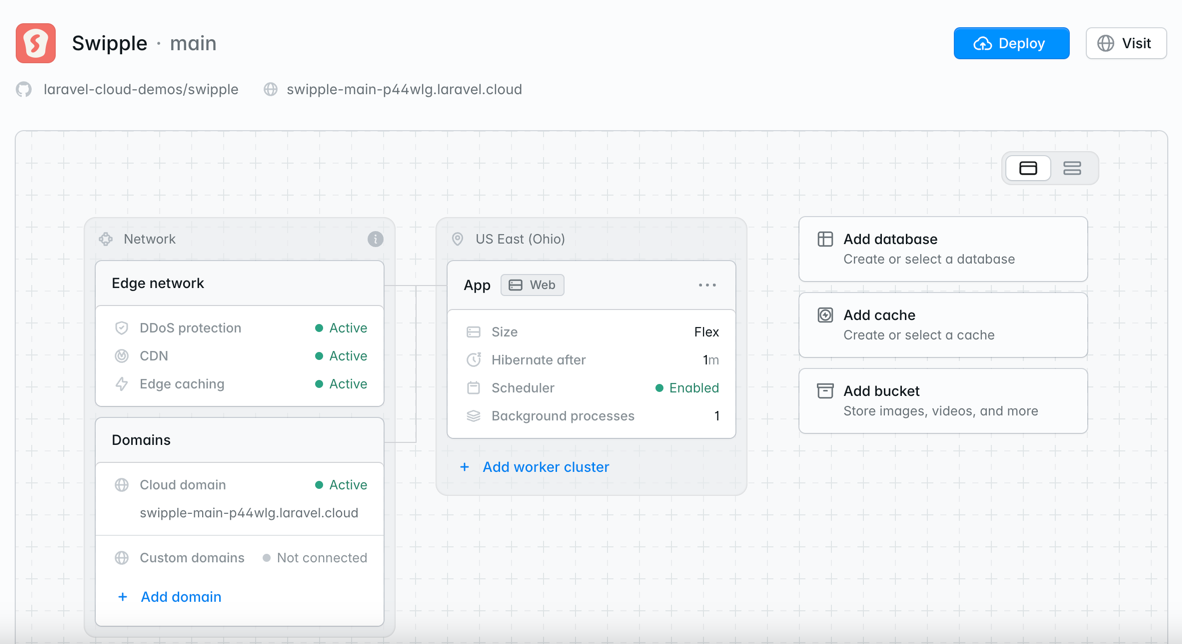
Select the PHP runtime
In your environment settings, confirm the runtime is set to PHP and select the PHP version that matches your application’s requirements.
Set build and deploy commands
Set your build command to install dependencies and compile assets:Set your deploy command to run database migrations on each deployment:
Add environment variables