Introduction
Background jobs allow your application to defer slow or expensive work (such as sending email, generating PDFs, calling external APIs, or processing media) so that your application can respond to web requests quickly.- Laravel
- Symfony
Laravel Cloud offers several ways to process queued jobs. Managed queues are the recommended option for most production and development workloads. Laravel Cloud will provision the queue, run workers on dedicated instances, and automatically scale them based on the work waiting to be processed. For applications that need a different queue driver, you may instead run the Pausing a queue requires edit access to the environment.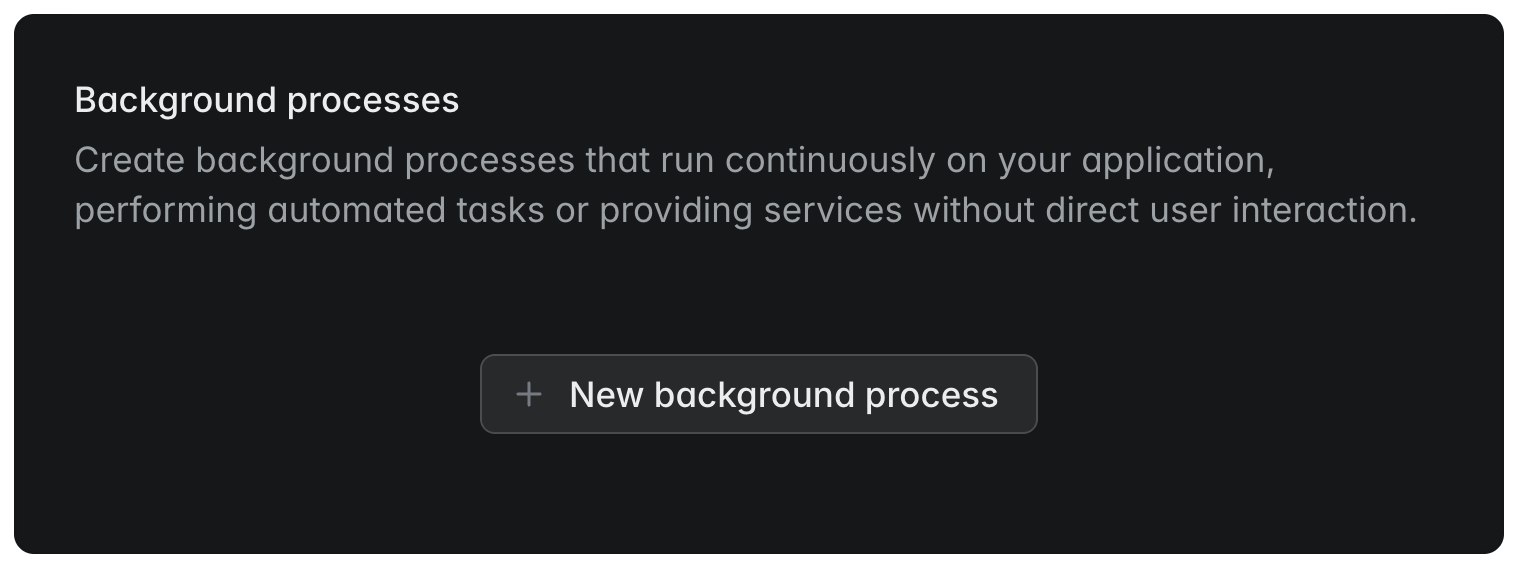

queue:work Artisan command directly on a worker cluster or as a background process on your app cluster.Choosing your queue setup
Managed queues are the right choice when you want background jobs isolated from your web traffic, want to pay only when jobs are actually being processed, want a built-in dashboard for failed jobs with retry tooling, or simply want to avoid running and scaling queue worker infrastructure yourself.Worker clusters are useful when you want to self-manage your
queue:work processes and your queue driver using a database, cache, or other driver type.App cluster background processes are acceptable for development, low-volume workloads, and small applications. For production workloads with meaningful job volume, we recommend managed queues so that background processing does not compete with web traffic for CPU and memory and scaling happens efficiently based on queue depth.Managed queues
Managed queues give your application a fully managed queue with dedicated workers that automatically scale based on the work waiting to be processed. Each managed queue is independent, with its own queue, pool of workers, memory allocation, and scaling configuration. When jobs arrive, Laravel Cloud will start workers to process them. When the queue drains, workers scale back down to zero, so you only pay for compute when your jobs are actually being processed.Each managed queue corresponds to a single Laravel queue name and is provisioned in the region of the environment it belongs to. The name you give the managed queue must match thequeue value your application dispatches to, unless the queue is designated as the environment’s default. Multi-region applications that need queue isolation per region should create a managed queue in each environment.How scaling works
Laravel Cloud will continuously monitor pressure on each managed queue and automatically scale workers up and down based on the work waiting to be processed. When messages arrive on an idle queue, Laravel Cloud will start workers to process them. When the queue drains, workers scale back down to zero. To avoid the cold-start cost of constantly restarting workers during short lulls in activity, some workers may persist for several minutes after queue pressure drops.Unlike app cluster autoscaling, which is driven by CPU and memory, managed queues scale based on queue pressure, which is the actual work waiting to be processed. This means a sudden burst of thousands of jobs will be absorbed automatically, while an idle queue accrues no compute charges at all.Creating a managed queue
To create a managed queue, open an environment within Laravel Cloud and click Add compute on the canvas toolbar, then Managed queue. You will be prompted to provide a queue name, the amount of memory to allocate to each queue worker, polling interval, maximum number of workers, shutdown timeout, and visibility timeout. Each of these settings is described in detail in the sections below. Finally, save and deploy your environment to provision the managed queue.Once deployed, Laravel Cloud will create the underlying queue, configure access from your application, and start the worker pool. No additional credentials, configuration, or setup is required on your side. Your application may begin dispatching to the queue as soon as the deployment completes. Note that creating a managed queue changes the environment’s default queue connection. See Queue connection below.Queue names must contain only letters, numbers, hyphens, and underscores, and must be 43 characters or fewer. Each managed queue handles exactly one queue name. Comma-separated names such asdefault,emails are not supported. To process multiple queues, simply create a separate managed queue for each.Queue connection
When you deploy a managed queue, Laravel Cloud setsQUEUE_CONNECTION=cloud for the environment. This makes managed queues your application’s default queue connection.If you want some jobs to keep using your previous driver (for example, while trialing a single managed queue alongside an existing worker cluster), explicitly set QUEUE_CONNECTION back to that driver (database, redis, etc.) and dispatch your managed-queue jobs on the cloud connection explicitly using ->onConnection('cloud').Laravel applications default to the database driver, so applications using the default are the most likely to be affected. Applications that already set QUEUE_CONNECTION=redis (or another explicit value) already override Laravel’s default connection and are less likely to be affected.Setting a default queue
You may designate one managed queue per environment as the default. When designated, your application may dispatch jobs without specifying a queue name. For example,dispatch(new SendEmail) will route to the default managed queue rather than to a queue literally named “default”. This is useful when you have a single managed queue: simply name it according to your team’s conventions, mark it as the default, and dispatch without ->onQueue('...') calls. You may also rename the default queue without updating any of your application’s dispatch code.Memory allocation
Each managed queue worker runs on an instance with a configurable amount of memory. Laravel Cloud offers six memory tiers: 256 MiB, 512 MiB, 1 GiB, 2 GiB, 4 GiB, and 8 GiB. CPU scales proportionally with the memory tier. The default is 256 MiB, which is sufficient for typical Laravel jobs such as sending email, dispatching or processing webhooks, updating records, and light data transformation.The tiers available depend on your plan:Heavier workloads will benefit from the higher memory tiers. For example, jobs that load large datasets into memory, process big files, generate complex reports, or run ML inference. If you have queues with substantially different resource needs, give each its own managed queue with appropriately sized workers, so that memory-intensive jobs do not tie up oversized workers for lightweight jobs, and vice versa.
Managed queue instance sizes are managed separately from the sizes available to app and worker clusters. Each managed queue worker is sized independently, by memory.
Polling interval
The polling interval controls how often Laravel Cloud checks queue pressure to decide whether to scale workers up or down. The default is 5 seconds, with a configurable range of 1 to 60 seconds.This setting is a tradeoff between latency and cost. Shorter intervals allow Laravel Cloud to notice new jobs sooner and start workers faster, but each poll counts as a billed queue operation. Longer intervals reduce that cost at the expense of slower scale-up on a previously idle queue. The default is appropriate for most applications. Typically, you should keep the interval short for latency-sensitive jobs such as user-facing notifications, and consider lengthening it for steady, predictable traffic to reduce operations cost.Once workers are running, jobs are received within milliseconds via long-polling regardless of this setting. The polling interval only governs Laravel Cloud’s scaling checks.Maximum workers
Each managed queue scales between zero and a configured maximum number of workers based on queue pressure. When the queue is idle, no workers run and nothing is billed. When work arrives, Laravel Cloud will scale workers up (never exceeding the maximum) to drain the backlog, then scale back down to zero.The maximum allowed depends on your plan:Choosing a maximum is a function of how much parallelism your downstream systems can tolerate. Workers processing in parallel will hit your database, third-party APIs, and any other shared resources concurrently, and a queue that scales to 50 workers can quickly overwhelm a database connection pool or trigger third-party rate limits. Typically, you should start conservative and raise the cap as you verify your downstream dependencies can absorb the load.
Shutdown timeout
When a worker is scaled down or redeployed, Laravel Cloud will give it a grace period to finish its current job. This is the shutdown timeout. The default and customer-facing maximum is 90 seconds, which is sufficient for most jobs. Workloads with longer-running jobs may contact support to raise the cap.Jobs that exceed the shutdown timeout are forcefully terminated and may be redelivered, so your jobs should be designed to tolerate at-least-once delivery. Typically, the shutdown timeout should be set to the minimum that comfortably covers your longest expected job.Visibility timeout
The visibility timeout controls how long an in-flight message is hidden from other workers after a worker begins processing it. If the worker does not finish in time, the message becomes visible again and another worker picks it up. The default is 60 seconds, with a configurable range of 0 to 43,200 seconds (12 hours).Typically, you should set the visibility timeout slightly above the worst-case duration of any job on the queue. Setting it too low will cause jobs that run longer than the timeout to be processed twice. Setting it too high means a crashed or terminated worker holds its message until the timeout elapses, delaying the retry.Optimizing your queue settings
The defaults (256 MiB memory allocation, 60-second visibility timeout, 90-second shutdown timeout, and 5-second polling interval) are tuned for typical Laravel jobs that complete in seconds and do not require much memory. Most applications will not need to adjust these.For long-running jobs such as reports, video transcoding, or batch imports, raise both the visibility timeout (above your worst-case job duration) and the shutdown timeout (or contact support to go above 90 seconds), and design your jobs to tolerate at-least-once delivery.For memory-intensive jobs such as processing large files or running ML inference, choose a larger memory tier such as 2 GiB, 4 GiB, or 8 GiB depending on need. After your queue has been running for a while, check the Memory chart on the Queues tab. If memory usage is consistently low, you may drop down a tier to save cost. If it is pegged near 100%, move up.For high-volume bursts such as CSV imports or webhooks firing for every user, raise the maximum workers cap so that Laravel Cloud can scale out to drain the burst quickly. Of course, keep an eye on downstream dependencies, since a queue scaling to many workers in parallel can saturate database connection pools or hit third-party rate limits in ways that single-worker code would not.Filesystem
Each managed queue worker has its own ephemeral filesystem, sized in proportion to the worker’s memory tier. As with your environment’s filesystem, every 1 GiB of memory provides 512 MiB of disk space. For example, a worker on the 256 MiB tier has 128 MiB of disk space, while a 2 GiB worker has 1 GiB.Disk space is not configurable independently of the memory tier. If a job needs more temporary disk space, for example when downloading and transforming large files, select a larger memory tier to obtain proportionally more disk.Treat the filesystem as temporary, unshared disk space that is only consistent during a single job. Files are not guaranteed to persist from one job to the next, and the filesystem is reset whenever a worker is replaced. For persistent file storage, use thes3 driver via Laravel Object Storage.Observability
Every environment with managed queues will display a dedicated Queues tab in the Laravel Cloud dashboard. This page surfaces near real-time status and historical metrics for every managed queue in the environment, along with a cross-queue view of failed jobs. You may scope the entire page using the deployment and time range filters at the top.Each managed queue has its own card showing real-time status and historical metrics. The card header surfaces the number of messages waiting to be picked up, the number of messages currently in flight, and the queue’s region, memory allocation, and worker range, with an Edit button for jumping to the queue’s settings. Four charts plot per-queue metrics across the selected time range: job volume, processing duration, peak memory used per worker as a percentage of the configured memory allocation, and the number of active workers reached during the window.When a job fails after exhausting its retries, it is recorded in the Failed jobs section at the bottom of the Queues tab. You may inspect the failure to view the full payload, exception, and stack trace, retry the job to re-dispatch it to its original queue, or delete the failed record. Retries and deletions require edit access to the environment. Recording failed jobs is enabled automatically for every managed queue. There is no separate failed jobs driver to configure.Worker log output is sent to the environment’s Logs tab alongside your web application’s logs, rather than to the Queues tab. Managed queue metrics are scoped to the Queues tab only and do not appear on the environment-level Metrics tab, which covers app and worker clusters.Pausing a queue
To stop a managed queue from processing, for example during an incident or a downstream maintenance window, you may pause it from the queue’s dropdown menu on the canvas. When paused, Laravel Cloud will stop polling and scale the queue workers to 0 (allowing any in-flight job to finish gracefully). No worker or polling charges accrue while the queue is paused. Jobs your application dispatches will continue to land in the queue and are held there until the queue is resumed.When you resume the queue, Laravel Cloud will begin polling again, notice any backlog, and scale workers up to process it.Pausing using the
queue:pause Artisan command is unsupported for managed queues. Instead, you should pause your queue within Laravel Cloud which stops incurring compute and polling costs.Purging a queue
To clear a queue’s contents, for example during an incident or when migrating jobs between environments, you may purge a managed queue from its dropdown menu on the canvas. Purging will remove every message in the queue immediately and cannot be undone. Purging a queue requires edit access to the environment.Preview environments
Managed queues are supported in preview environments. Each preview environment receives its own queue and its own pool of workers, isolated from production. This allows you to test queue-using features in preview without sharing a queue with your live application or other preview branches. Usage on preview-environment managed queues is billed in the same way as production usage.Pricing
Managed queues are billed on two metrics that appear separately on your invoice.Workers are billed per second by memory size, with no monthly cap. You only pay for the seconds workers are actually running, and a queue at rest accrues no worker charges. For example, a queue that runs three workers for 20 minutes will be billed for 3,600 worker-seconds at the configured memory size, and nothing more. This makes managed queues cost-effective for spiky workloads where worker counts vary widely over the course of a day.Queue operations are billed at $1 per 1 million operations. An operation is any API call against the queue. The most common operations are the polling checks Laravel Cloud performs at your configured polling interval, the messages your application sends when dispatching jobs, and the receives and deletes workers perform as they process jobs. Less common operations also count, including releasing a job back to the queue for retry, purging a queue, and queue attribute lookups such as those performed byphp artisan queue:monitor. For most applications, sends, receives, and deletes scale with actual job volume, while polling checks scale only with your polling interval.In practice, payload-bearing operations (sends and receives) are measured in 64 KB chunks, so a job whose payload exceeds 64 KB will count as multiple operations on each send and receive. Most Laravel jobs have a payload well under 64 KB. The maximum payload size for a job is 1 MiB. Payload-less operations such as deletes, retries, purges, and queue attribute lookups always count as a single operation.Both metrics appear on your environment’s Usage page, broken down by queue.For detailed pricing information, see Managed Queues pricing.Requirements
Your application must include theaws/aws-sdk-php package in its composer.json. Deployments that create or update a managed queue without it will fail at deploy time with a clear error.Managed queues require a recent version of the Laravel framework. The supported minimums are Laravel 11.53.1, Laravel 12.60.2, and Laravel 13.11.2. Deployments that create or update a managed queue on an unsupported framework version will also fail at deploy time with a clear error.No additional credentials, configuration, or setup are required on your side. Laravel Cloud will provision the queue, configure access, and manage the underlying infrastructure on your behalf.Limitations
Managed queues currently support at-least-once delivery only. Strict ordering and exactly-once processing are not supported. If your workload requires either, use a worker cluster with a Redis or database driver instead.Each managed queue handles exactly one Laravel queue name. To process multiple queues, create a separate managed queue for each.Every managed queue scales to zero when idle. Workers cannot be kept warm at all times, so the first job dispatched to a queue that has scaled to zero may take several seconds to begin processing while the worker starts. Support for a configurable warm-worker minimum is planned for a future release.Jobs cannot be delayed for more than 15 minutes.The polling interval is capped at 60 seconds, and the shutdown timeout is capped at 90 seconds without a support override.Migrating from Queue Clusters
Queue clusters are deprecated, and new queue clusters cannot be created. Existing queue clusters will be sunset on a date to be announced, and we strongly recommend migrating any production queue clusters to managed queues or worker clusters.To migrate, create a managed queue in the same environment using the same queue name your application currently dispatches to. Allocate memory appropriate for the workload currently running on the queue cluster. If your queue cluster has been comfortably handling its jobs, a similarly sized memory tier is a reasonable starting point. Set the maximum worker count based on the parallelism your downstream systems can tolerate. Queue clusters and managed queues scale differently, so do not carry over the queue cluster’s worker count blindly.Once you deploy the environment, the managed queue will be provisioned. Verify that jobs are flowing through the new queue by dispatching a test job and watching it process in the Queues tab. Then, stop dispatching to the old queue cluster, wait for its remaining jobs to finish, and delete it from your canvas. If your application dispatches to multiple queue names through a single queue cluster, repeat this process for each queue name.Worker clusters
Running your application’s queue workers on a dedicated worker cluster, rather than on the app cluster that handles incoming HTTP traffic, allows you to scale queue processing independently of your web traffic. Worker clusters are useful when you want to self-manage yourqueue:work processes and your queue driver using a database, cache, or other driver type.To add queue workers to a dedicated worker cluster, first create the worker cluster. Then, click on the Worker compute cluster within the infrastructure canvas dashboard. Within the Background processes section of your cluster settings, click New background process. Next, configure your queue worker options based on your environment’s requirements and select the number of queue:work processes within the given configuration that you would like to create. Finally, save and deploy your environment changes to start your queue worker.App cluster background processes
The simplest way to begin processing queued jobs is to add a queue worker background process to your environment’s app compute cluster. When running queue workers on your app compute cluster, queued jobs will be processed on the same compute instances that handle your application’s incoming HTTP traffic. This is well suited to development, low-volume workloads, and small applications. For production workloads with meaningful job volume, prefer managed queues so that background processing does not compete with web traffic for CPU and memory.To get started, click on your environment’s App compute cluster within the infrastructure canvas dashboard. Then, within the Background processes section of your cluster settings, click New background process. Next, configure your queue worker options and the number ofqueue:work processes you want to run. Finally, save and deploy your environment changes to start the worker.When running queue workers via Laravel Cloud, there is no need to run the
queue:restart Artisan command after each deployment.Queue clusters (deprecated)
Queue clusters runphp artisan queue:work in a fully isolated cluster whose sole purpose is running and scaling queue worker processes based on job latency and queue pressure. If you have an existing queue cluster, it will remain visible within your environment’s infrastructure canvas and continue processing jobs until the announced sunset date.Custom background processes
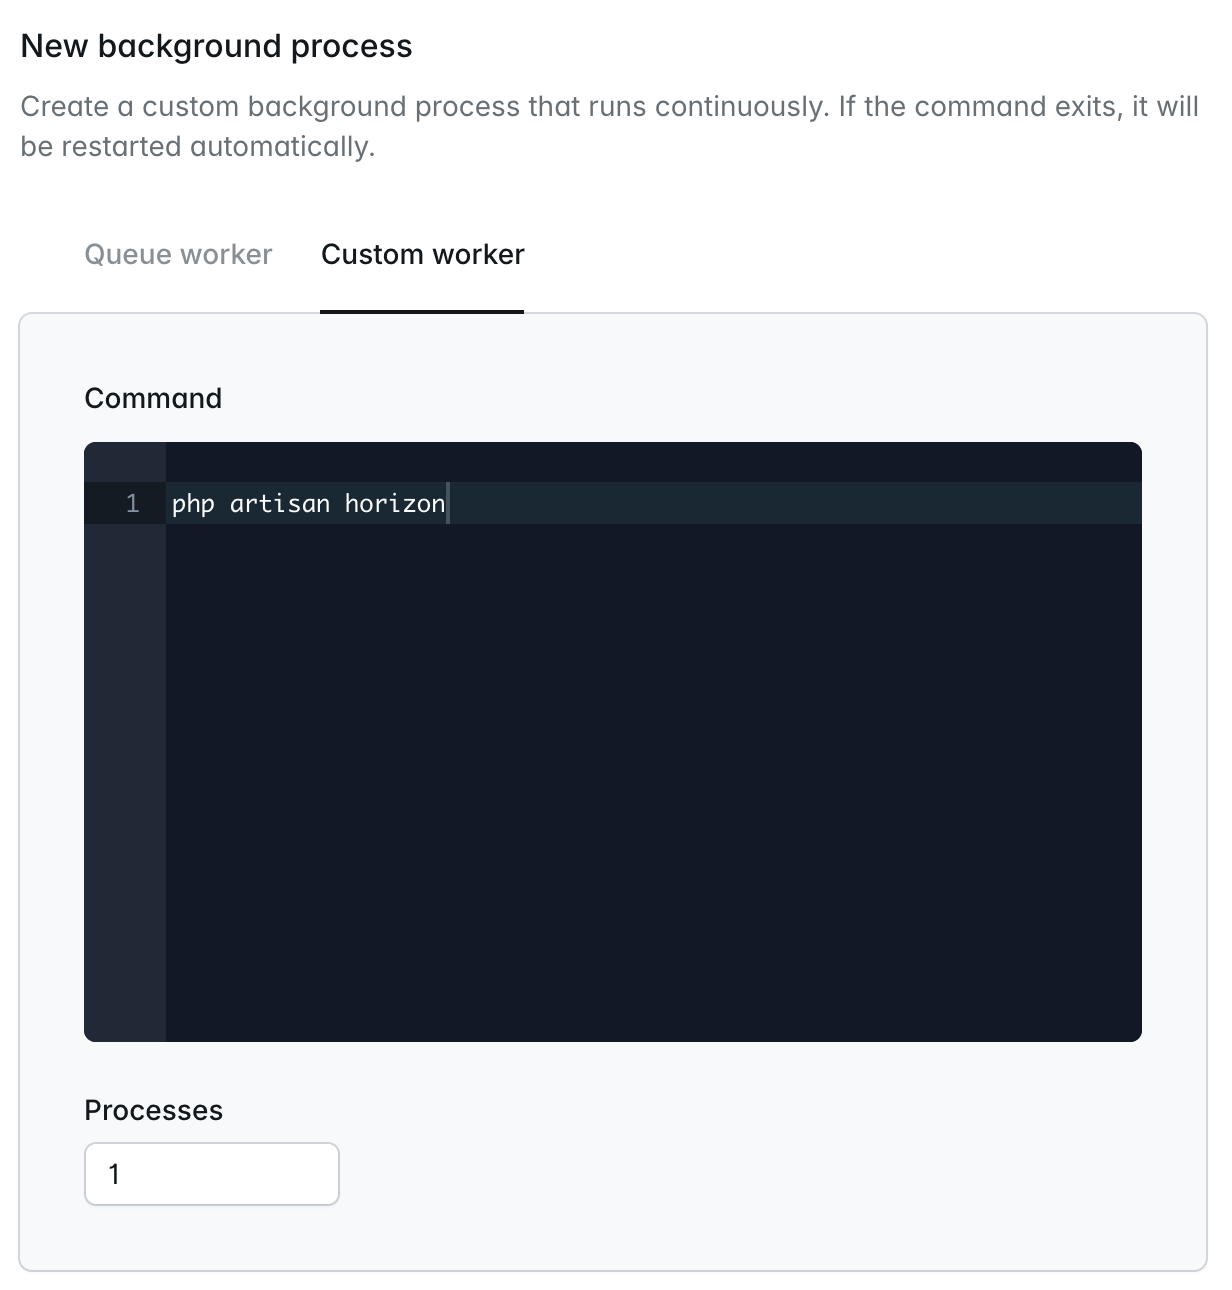
In addition toqueue:work processes, Laravel Cloud also allows you to configure arbitrary long-lived custom background processes, such as Laravel Horizon.To get started, click on a compute cluster within your environment’s infrastructure canvas dashboard. Then, within the Background processes section of your cluster settings, click New background process. Next, click the Custom worker tab and provide your custom worker command along with the number of instances of the command that should be started. For example, for Laravel Horizon, you should provide the php artisan horizon command and specify that Laravel Cloud should run a single process. Finally, save and deploy your environment changes to start your custom worker process. Laravel Cloud will automatically restart the process if it exits prematurely.